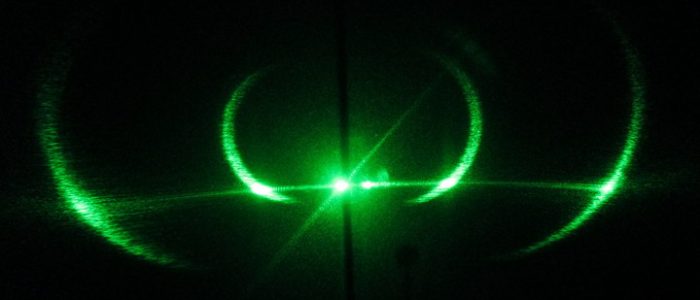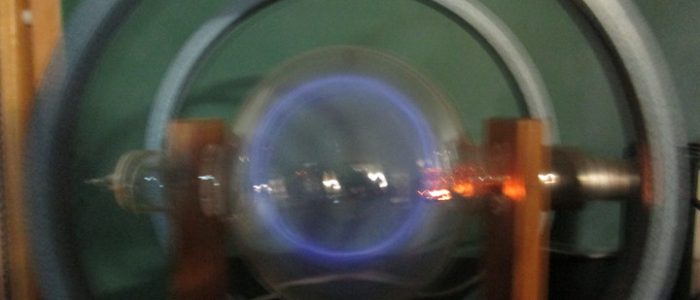
Video: Watch this demo
Additional Videos: Similar apparatus, but not projected and in a test tube
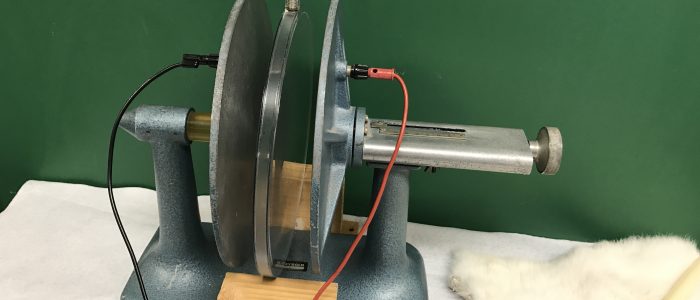
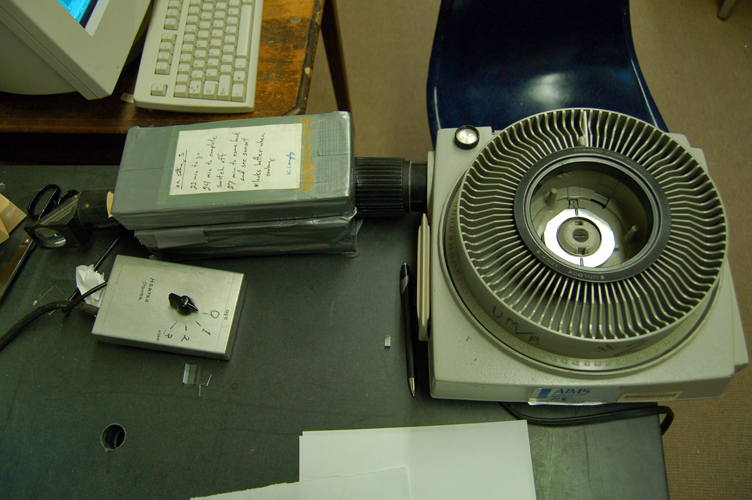
Description: This apparatus is used to illustrate critical opalescence near the critical point.
Equipment:
- Critical opalescence apparatus
- Parallel light source
- Slide projector or
- projector bulb + variac and two lenses to produce parallel light
- the lenses are necessary because the bare projector bulb close to the apparatus will heat it, disturbing cooldown.
Setup Procedure:
- Aim the slide projector(light source) into the apparatus as seen in the top picture.
- Aim the apparatus onto the screen.
Demonstration Procedure:
- Turn on the slide projector.
- Turn on the heater to 3. The effect is not observable when heating the liquid up. Wait for the liquid to warm up (about 20 minutes).
- Turn off the heater and let the liquid cool. It is much easier to see critical opalescence when the liquid is cooling off.
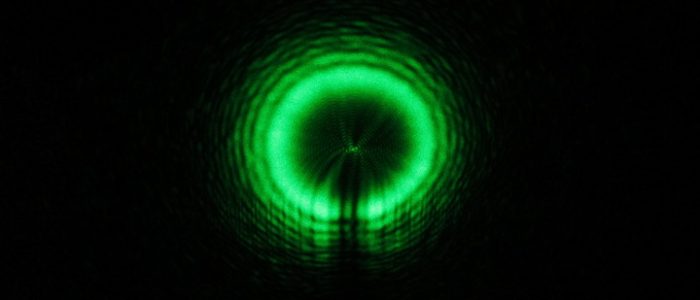
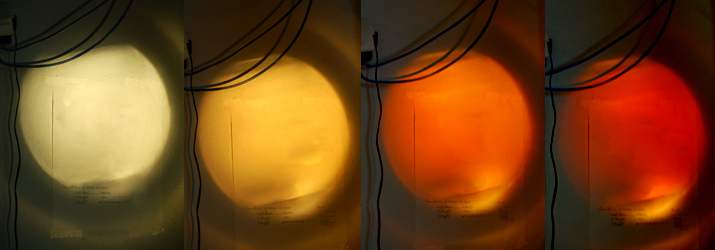
- The projection of the liquid should start off clear. The image is vertically inverted.
- As it cools off, this should start to turn a nice orange, and finally a dark red (if lucky, almost black).
- When the material cools off further so that the temperature is not near the critical point it should turn back to a clear color.
- Explain that when the image turned dark red, the material scattered light due to Rayleigh Scattering and thus very little made it through (the white color due to scattering is why the term opalescence is used).
At the critical point, the gas and liquids have roughly equal densities. You will not be able to see a meniscus. When cooling it down right below the critical point, you may see bubbles and drops form throughout the material.
Note: We are not sure what material is in the apparatus.
It may take a while for the apparatus to heat up. We recommend starting it at the start of class.
32-F3

